How to make a small posy of flowers
- daysofdahlia
- Mar 31, 2022
- 3 min read
It's Spring! And how good it feels to see flowers in the ground. Even better to grasp them in your hands and arrange them in beautiful seasonal posy for a vase. We have put together a guide on how to put together a flower posy using the short stems synonymous with the early Spring. Enjoy!
What you will need
Seasonal flowers to include in your spring posy
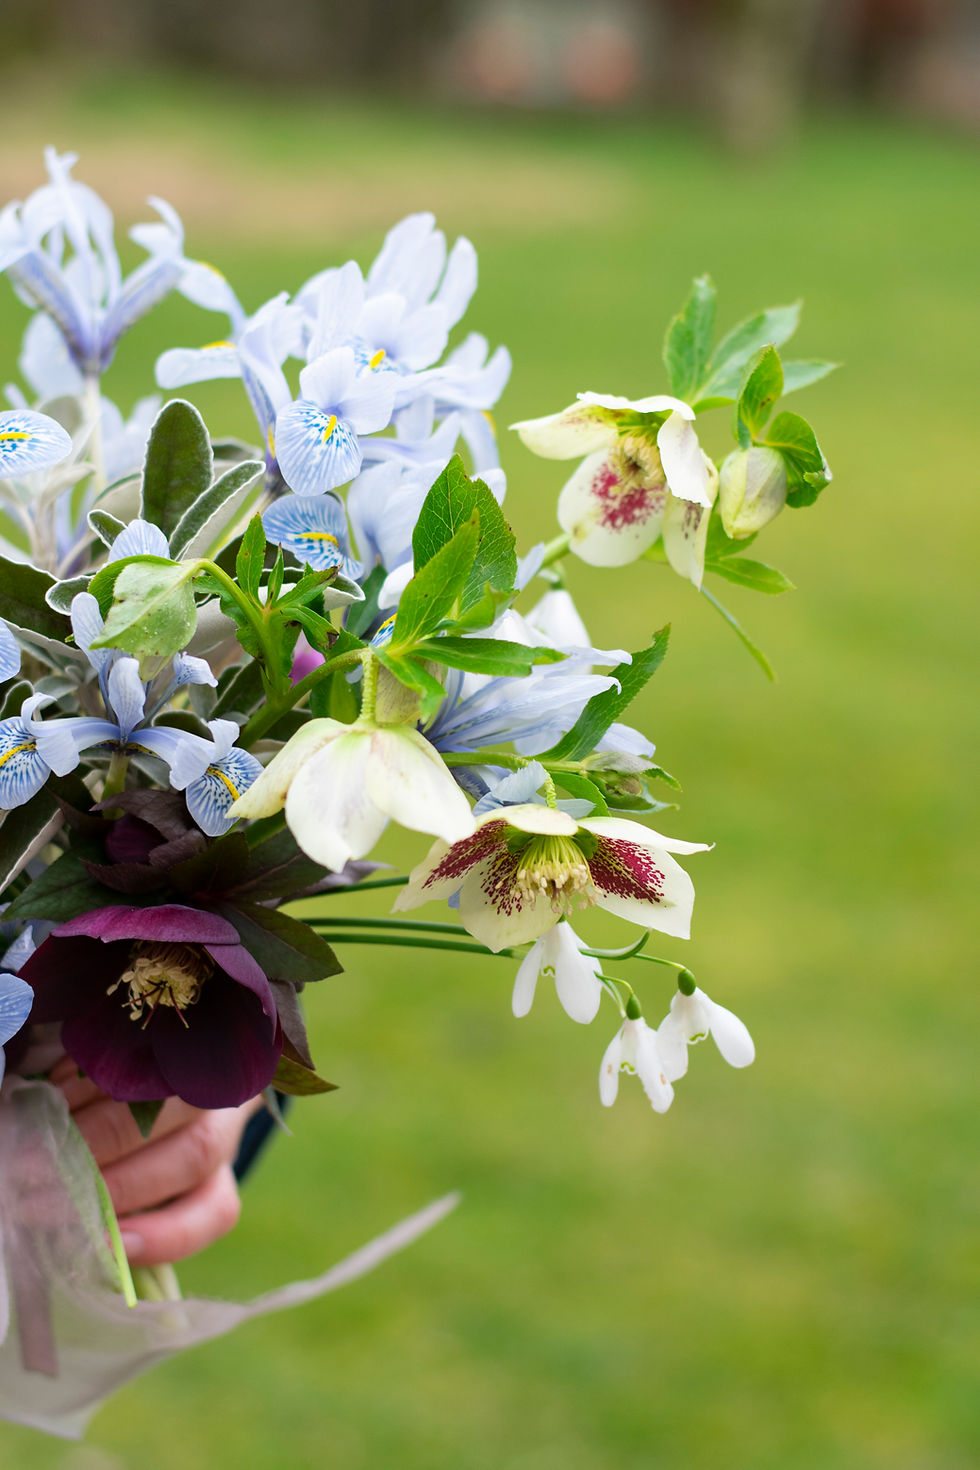
For our demo posy, we have used iris reticulata, hellebore, snowdrop, cyclamen, and sage but there are lots of other beautiful garden flowers and flowering shrubs available this time of year. Have a look around your garden to see what you could use!

How to put your posy together
Lay out all of your ingredients on a table giving yourself plenty of room to work and review your stems as you build your bouquet.


Clear any leaves from below your ‘tying point’. This is the point on the stems which you are going hold between your thumb and forefinger as you build the bouquet. It will also be the point at which to wrap the raffia around the stems to tie your bouquet when it is finished. This is also where you will hold your stems as you ‘twist’.

Make the tying point for your posy close to flower heads (around 2-3 inches) as you want to be able to maximise the stem length at the bottom for sitting in a vase of water. Your posy is going to be quite short and round in shape.
Select two stems to start with and hold your first stem in your left hand between your thumb and forefinger and overlap your second stem behind it at an angle pointing to the left and away from your body.
If you are left handed, do this the opposite way. Hold your first stem in your right hand and overlap your second stem behind it at an angle pointing to the right and away from your body.

As your bunch of stems gets thicker, move and nestle the stems into the soft fleshy part of the hand at the base of your thumb. Open your thumb and forefinger to insert each new stem whilst maintaining a grip on the stems. This takes a bit of dexterity to get used to but with practice it becomes second nature! Continue adding a mix of different stems like this, twisting the bouquet anti-clockwise (or clockwise for left handers) in your hand to work on different angles as you go and the stems will naturally start to spiral. If you have any soft stems, layer a sturdier, foliage stem next to it for protection so that it doesn’t get squashed or damaged when you tie it.


When you are happy with your posy and it looks good from all angles, tie it with twine or raffia. Wind the twine around the stems above your hand so that you don't let go of your twist. Don’t be too tight, you want the stems to rest and settle in the twist and don’t worry if your flowers move around a bit. If you are struggling to tie with the one hand, rest it on the edge of a table or carefully lay your posy on the table maintaining your hold of the stems until you have looped the twine around a couple of times to hold the stems in place.


Disguise your raffia or twine with a beautiful botanically dyed silk ribbon around the tied stems and leave a length to trail and cascade down.
Display in your favourite vase and enjoy!
If you would like to join us in person to learn how to put together bouquets in our signature, gather-gathered style, we would love to welcome you to our studio at one of our next workshops!


Comments